Today we’ll be installing VMWare Fusion, and using it to create a virtual Ubuntu 16.04 machine.
Links for required programs:
VMWare Fusion v. 8.5
Ubuntu 16.04 Desktop
Begin by installing VMWare.
After installing and starting VMWare, you should be greeted with the Virtual Machine Library window.
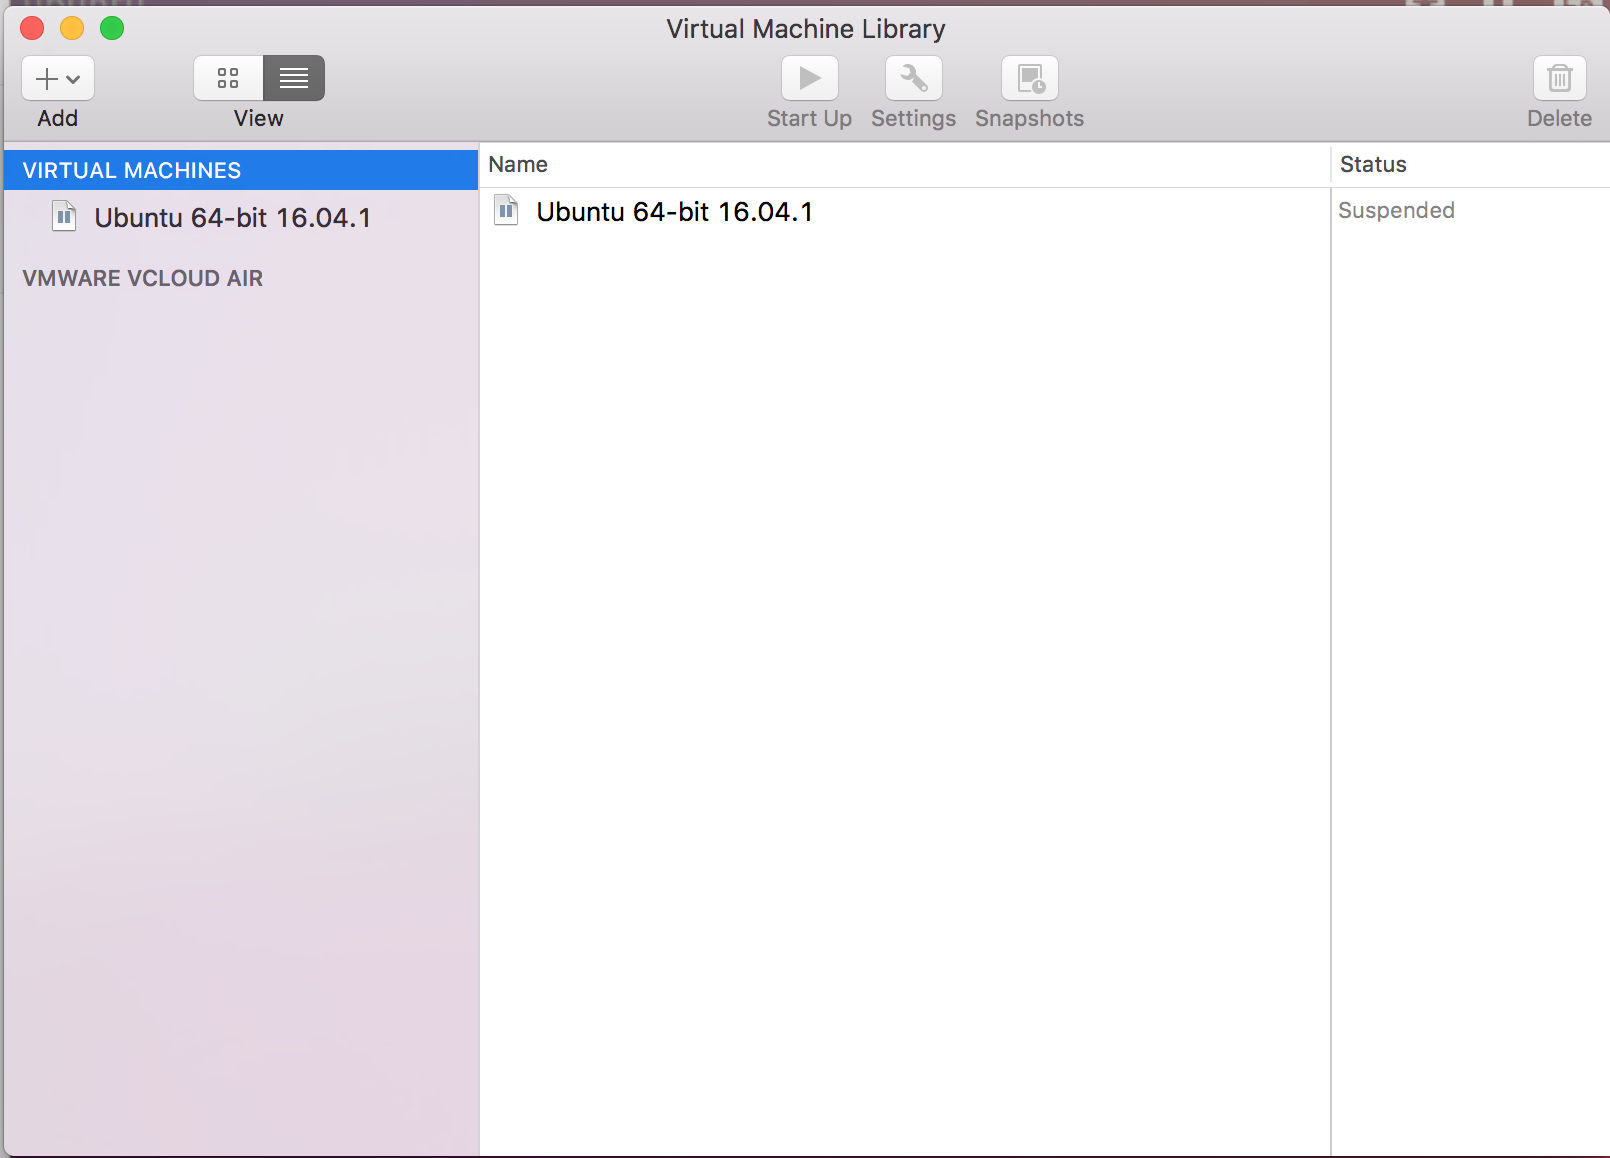
Hit add in the upper left corner, select New, which opens the Install Method window

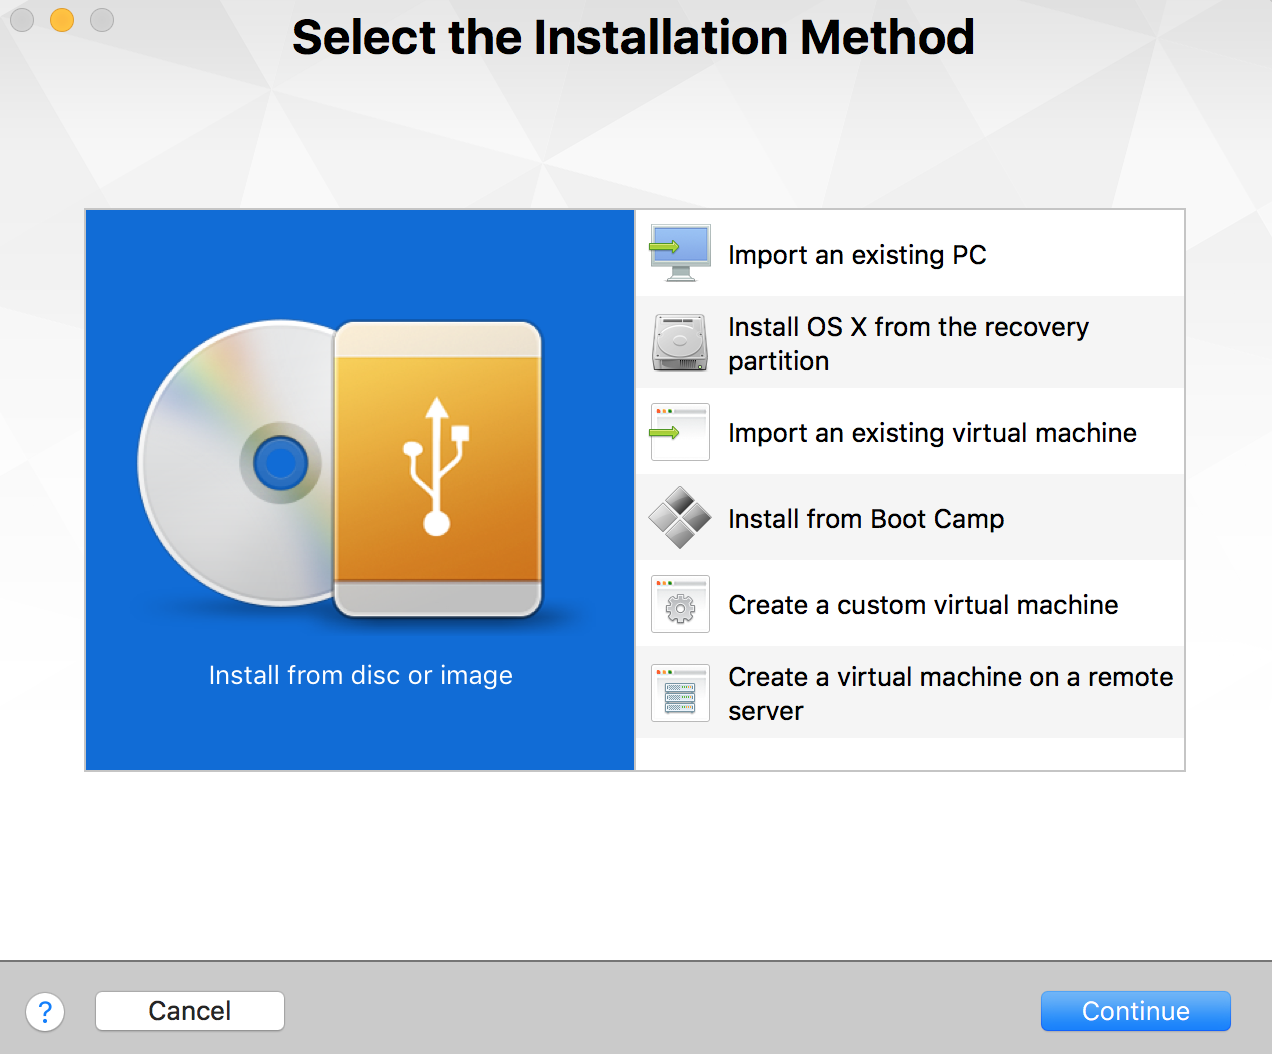
Drag the Ubuntu ISO file into the box labeled “Install from disc or image”
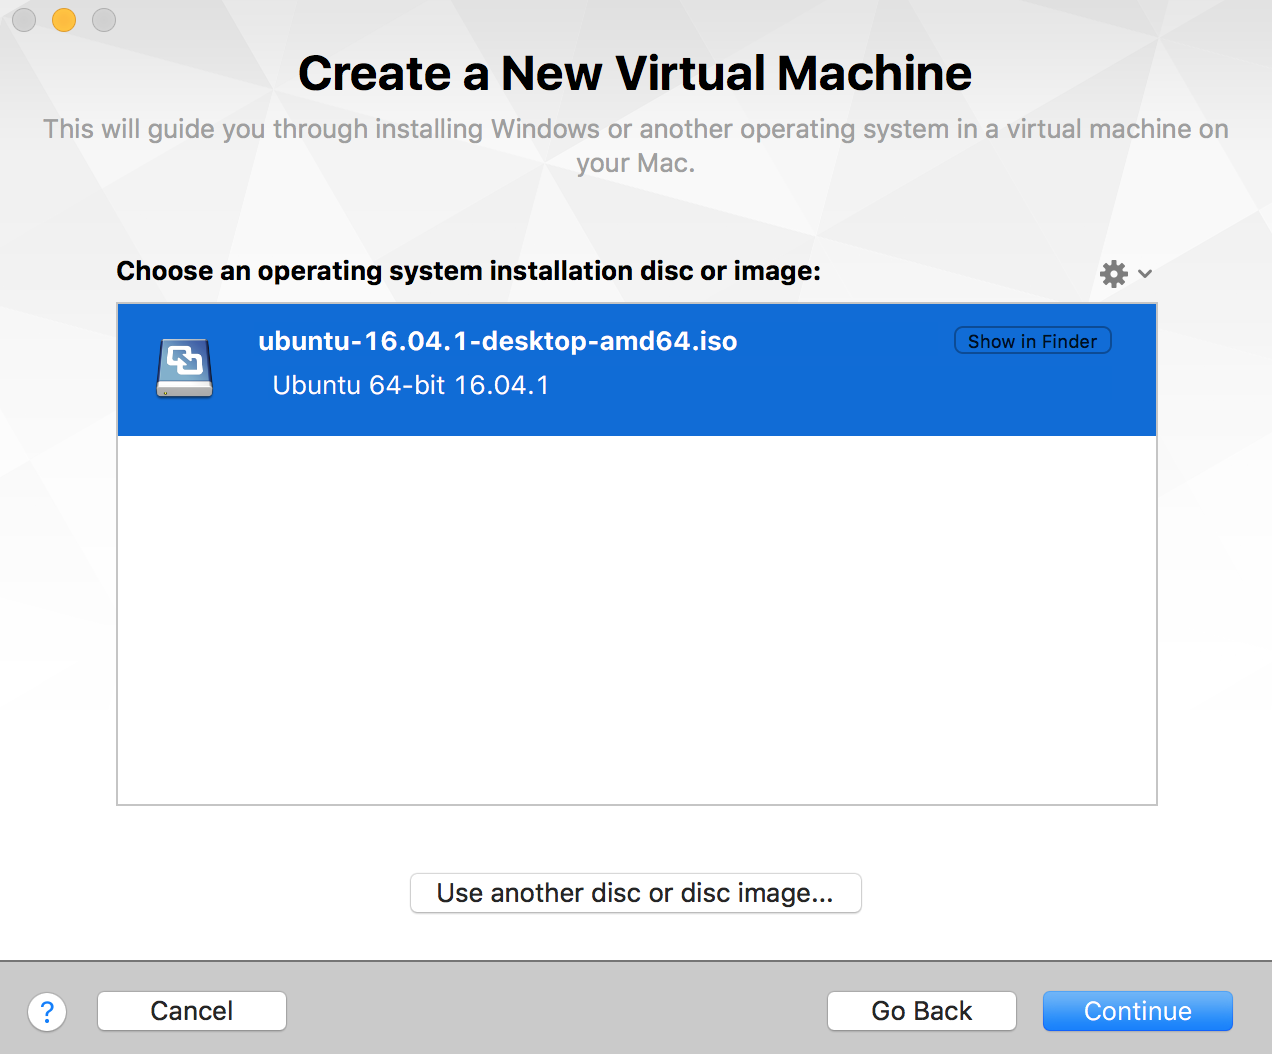
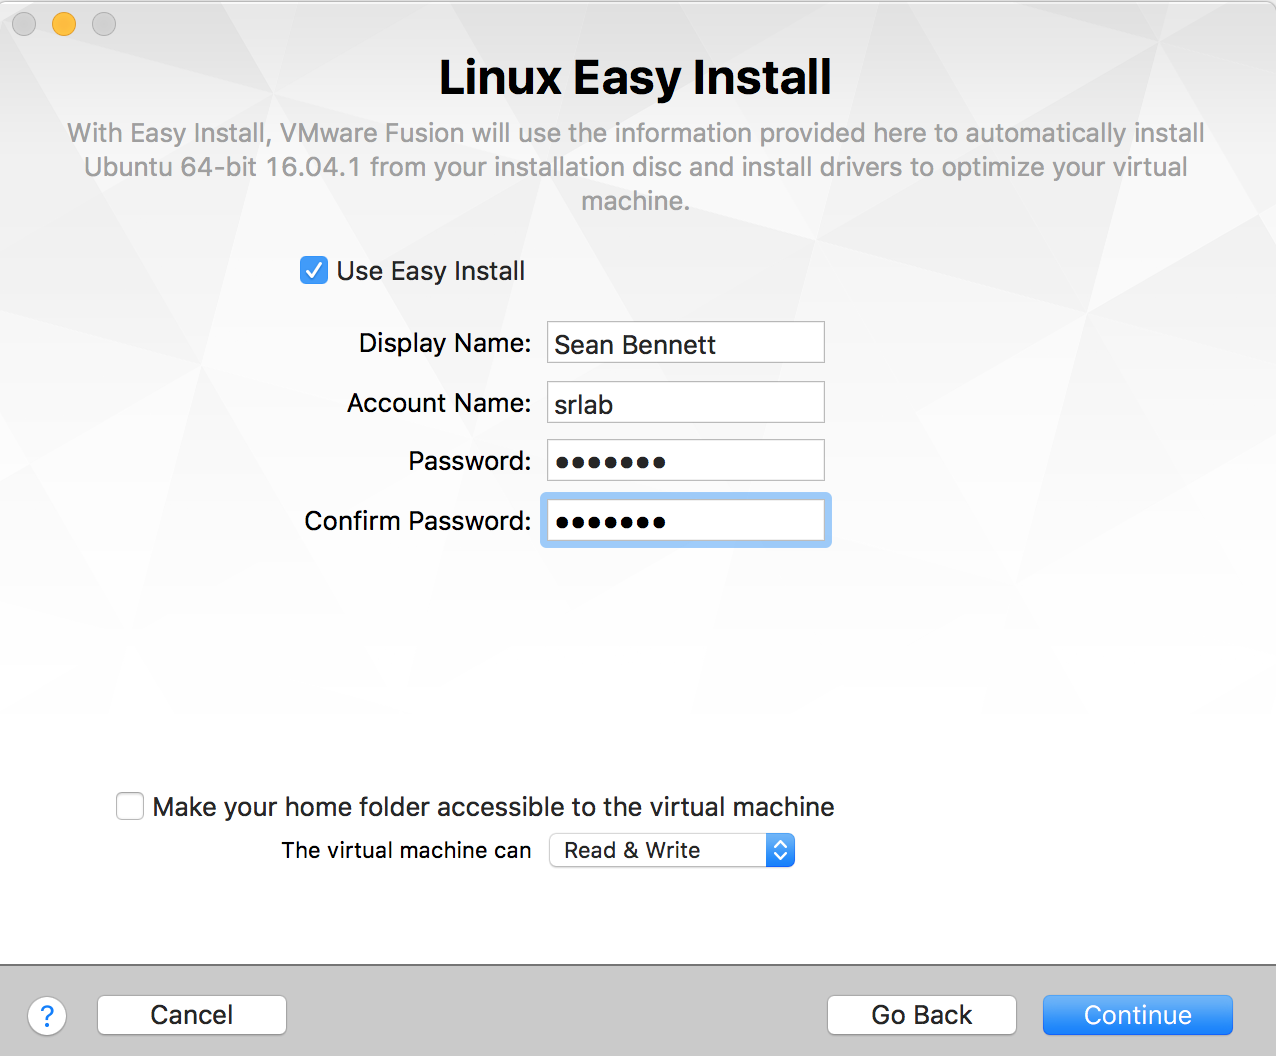
Select continue, and on the next screen you’ll input an account name and password These will be the login credentials used to log in Ubuntu, so remember them!
After selecting continue, a page describing the virtual machine will pop up. In some quirk of VMWare, you can’t customize the memory/hdd space/processors allocated to the VM, so just hit finish.

As a final step, VMware will ask you to name and save the machine to your hard drive. Defaults work here.

After you save, VMware will handle the installation of the Ubuntu OS, so just let it work for a while. You should see screens like this throughout the install process. It takes a few minutes.

Success!

We’ll want to take a moment to change the amount of CPU cores, memory, and hard drive space allocated to the VM, so we’ll shut the machine down to do this. The shut down option is under the Virtual Machines tab
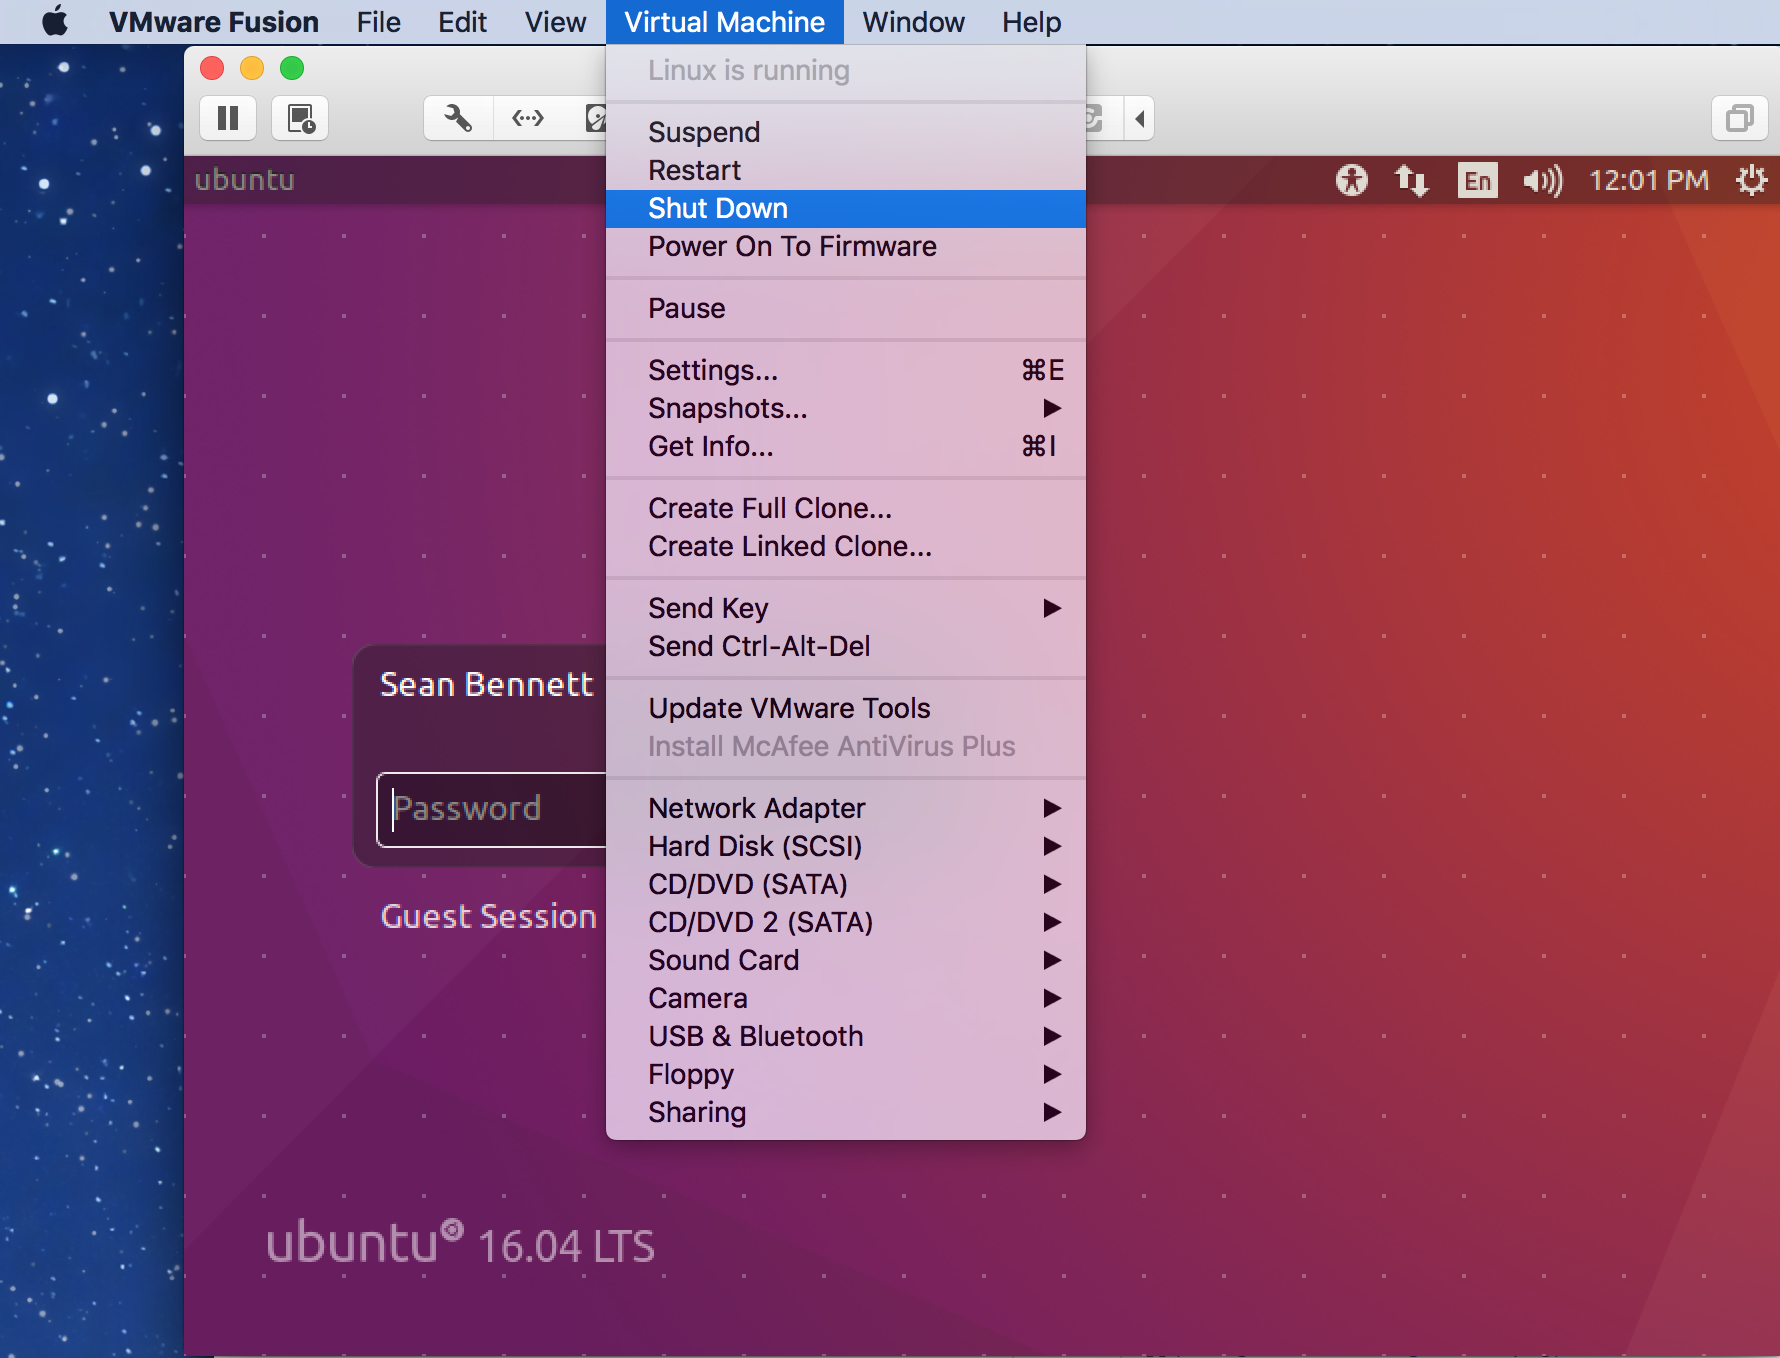
After shutting down, in the same Virtual Machines tab click settings


We’re after two options in the Settings, Processors and Memory and Hard Disk (SCSI). Under Processors and Memory we’ll want to increase the number of virtual CPU cores allocated to our virtual machine, as well as increasing the avaliable memory.
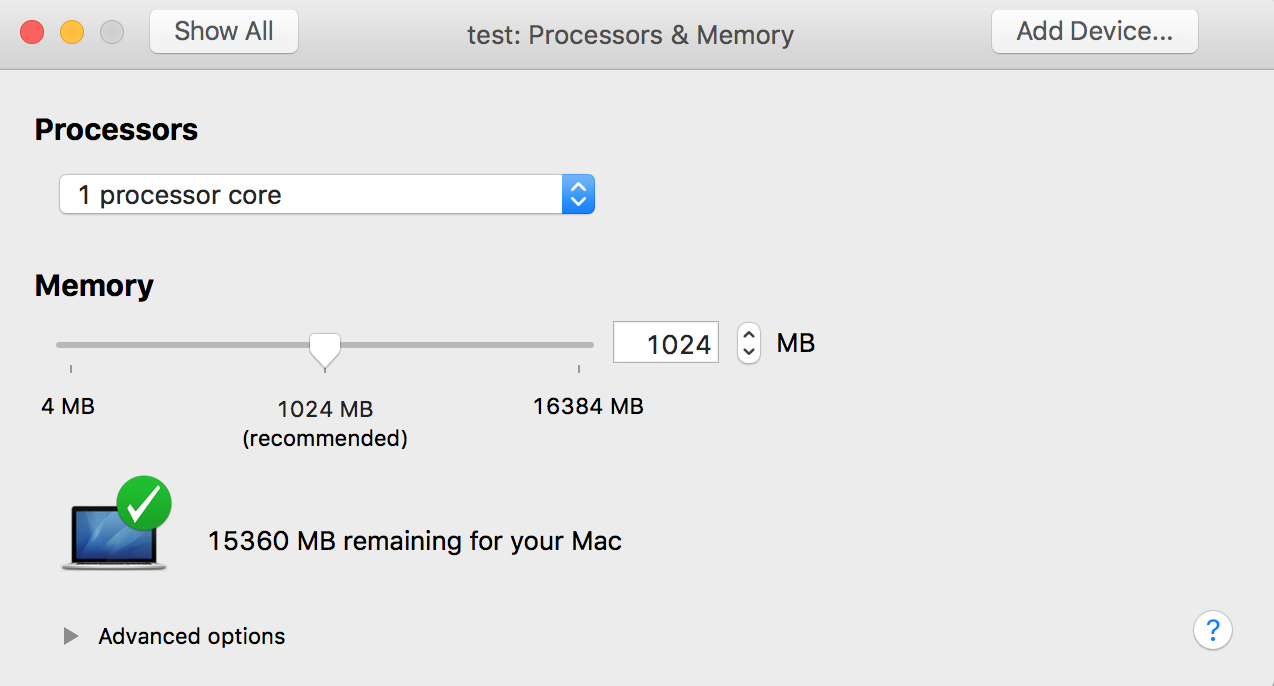
VMware uses a CPU scheduler, which means if you choose a large number of cores relative to your machine, this can limit the scheduler’s ability to assign tasks as it has to wait for that number of cores to be avaliable. (ex. I have an 8-core machine, were I to allocate 6 cores to the virtual machine, the scheduler would have to wait until at least 6 cores are available, potentially slowing the virtual machine down). For memory, I tend to pick roughly half of the available system memory, but that number is arbitrary
HDD allocation is much more straight forward. Choose enough to hold all of the files you need to work on, plus a couple gigabytes extra. If you find you run out of space later, you can always increase the size of the partition in the same way.

After you’ve allocated resources to the virtual machine, close the settings window and hit Start Up under the Virtual Machine tab. Welcome to your new Linux sandbox!